 Use this as a placeholder preview until you add your final image.
Introduction
A good design does not always need complicated software. If you know the right size, use a clear layout and keep your text readable, you can create polished graphics directly in your browser.
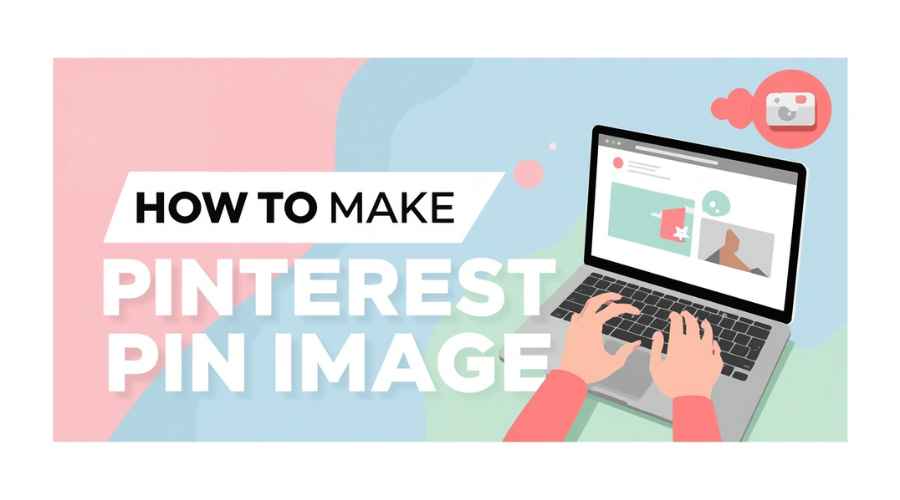
In this beginner-friendly guide, you’ll learn how to create a pinterest pin image online, what size to use, what elements to include, and how to export a clean image when you are done. You can follow the steps in any modern editor, or open the Canvix editor and start designing right away.
What Size Should a Pinterest Pin Be?
A strong Pinterest pin size is 1000 x 1500 pixels, which uses a vertical 2:3 ratio. Pinterest is a visual search platform, so tall images usually stand out better than square or wide images.
Why Pinterest Pins Are Different
Pinterest users often search for ideas, inspiration, tutorials, products and planning content. Your pin needs to communicate the topic quickly and make people want to click through.
- Use a vertical layout
- Show the result clearly
- Add readable headline text
- Use a clean image or product photo
- Keep branding visible but not overwhelming
Step 1: Create a 1000 x 1500 Canvas
Open your editor and create a 1000 x 1500 pixel canvas. This gives you enough vertical space for a headline, image and call to action.
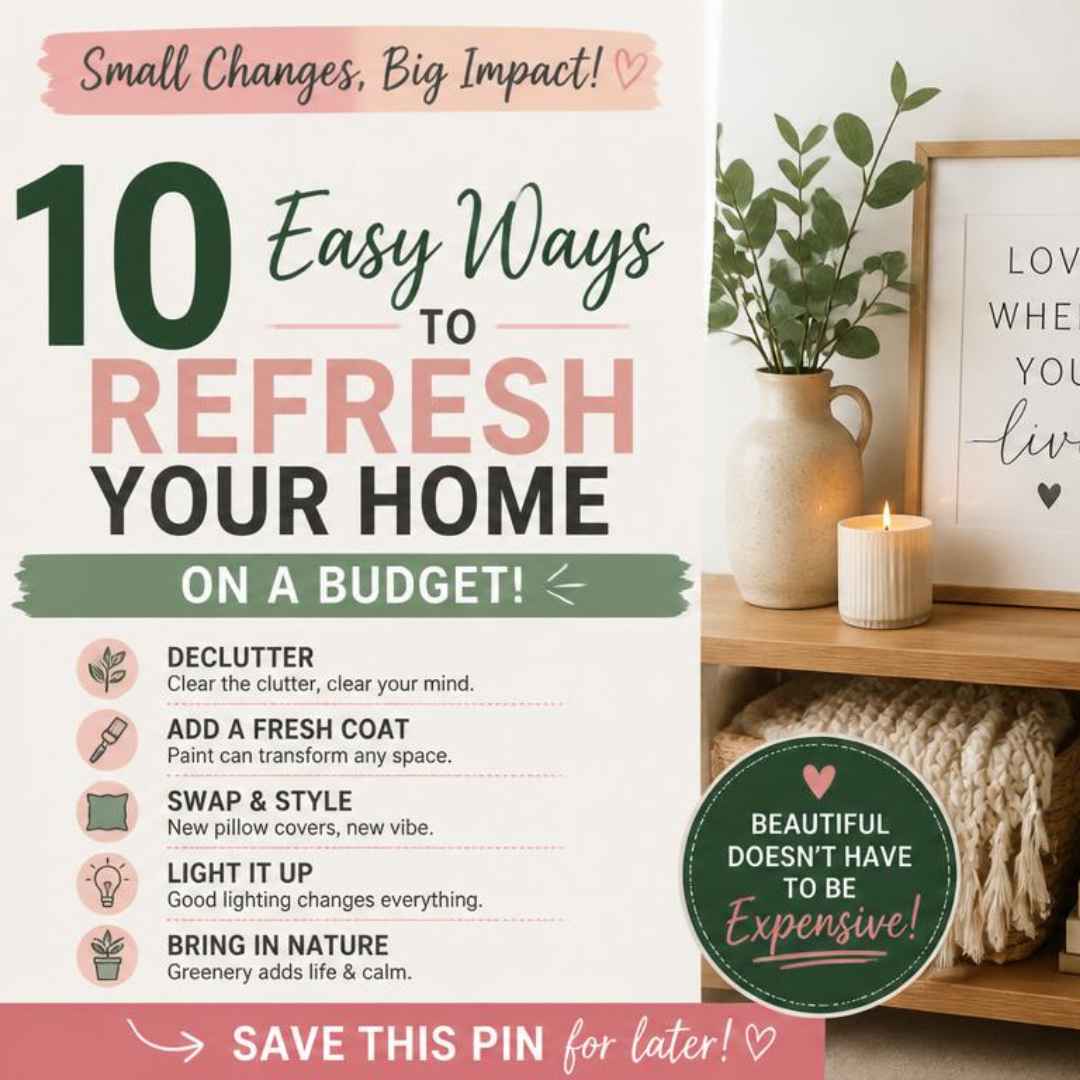
Step 2: Choose a Pin Style
Common Pinterest pin styles include:
- Blog post preview pins
- Product showcase pins
- Recipe or tutorial pins
- Quote or inspiration pins
- Checklist or tip pins
If you are promoting a blog post, use the blog title as the main headline. If you are promoting a product, make the product image the main focus.
Step 3: Add a Clear Headline
Your headline should explain exactly what the pin is about. Pinterest users often save pins for later, so clarity matters more than cleverness.
- “10 Easy Home Office Ideas”
- “Beginner Guide to Thumbnails”
- “Summer Sale Checklist”
- “How to Edit Photos Online”
Step 4: Use High-Quality Visuals
Use a photo, mockup, product image or graphic that matches the topic. If you use several images, keep the layout clean and leave enough breathing room.
For product pins, you can also read how to make a product promo graphic and reuse the same product image inside your pin.
Step 5: Add Branding and a Call to Action
Add your website name, logo or small brand mark near the bottom. Keep it visible but not too large.
A short call to action can help too, such as “Read the guide”, “Shop the sale” or “Try the template”.
Step 6: Export Your Pin
Export your pin as a JPG or PNG. Before uploading, zoom out and check whether the title is still readable when the pin is small.
Common Pinterest Pin Mistakes
- Using a square image when a vertical pin would stand out more
- Making text too small
- Using a weak or vague headline
- Adding too many fonts
- Forgetting to include branding or a destination idea
Related Design Guides
Once you have created your pinterest pin image, you can use the same skills to make other graphics:
Conclusion
You do not need Photoshop or advanced design experience to create a clean pinterest pin image. Start with the right canvas size, choose one clear message, use readable text, keep the layout simple and export your final design as a JPG or PNG.
Templates, stock photos, uploads, layers, effects and AI backgrounds can all speed up the process. The more you reuse a consistent style, the faster your graphics will look polished and recognizable.
Ready to design your own? open the Canvix editor, choose your canvas size and start creating online.
