Use this as a placeholder preview until you add your final image.
Introduction
A good design does not always need complicated software. If you know the right size, use a clear layout and keep your text readable, you can create polished graphics directly in your browser.
In this beginner-friendly guide, you’ll learn how to create a product promo graphic online, what size to use, what elements to include, and how to export a clean image when you are done. You can follow the steps in any modern editor, or open the Canvix editor and start designing right away.
What Is a Product Promo Graphic?
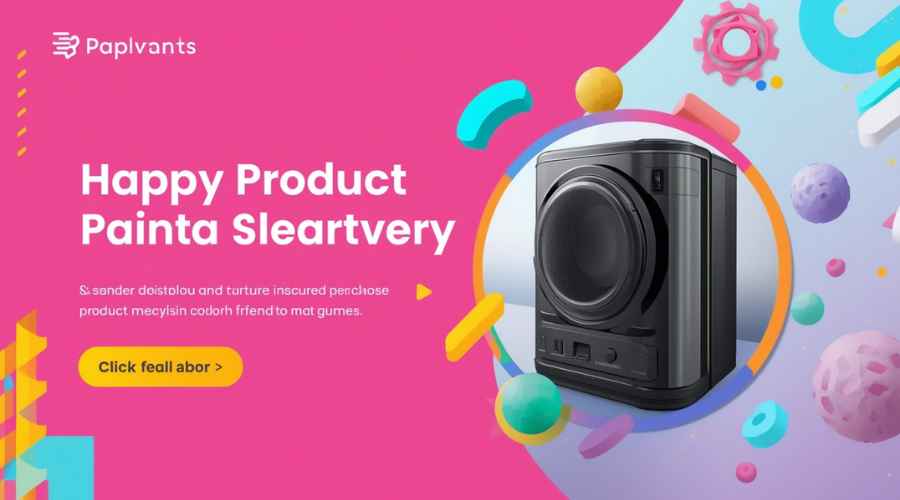
A product promo graphic is a visual that promotes a product, offer, launch or feature. It can be used on social media, websites, newsletters, ads or product update posts.
The goal is simple: show the product clearly, explain the benefit and make people want to click, buy or learn more.
Step 1: Choose the Platform and Size
The best size depends on where you will use the graphic. For Instagram, you might use 1080 x 1080 or 1080 x 1350. For a website banner, you might use a wide layout such as 1200 x 400 or 1600 x 500. For Pinterest, use a vertical layout like 1000 x 1500.
If you are not sure where the graphic will go, start with a square version first. It is easier to adapt into other sizes later.
Step 2: Prepare Your Product Image
Use a clean product photo, app screenshot, mockup or packaging image. If the background is messy, use a background remover or crop the product into a cleaner layout.
- Keep the product large enough to see
- Use a shadow or glow to separate it from the background
- Do not stretch the image
- Use a transparent PNG if possible
Step 3: Write a Short Promo Message
The text should explain the value quickly. Avoid long paragraphs. Use a headline, a short supporting line and a call to action.
- Headline: “New Summer Collection”
- Benefit: “Lightweight designs for everyday use”
- CTA: “Shop Now” or “Try It Today”
Step 4: Design the Layout
A simple two-column layout works well: product on one side, text on the other. For square posts, place the product in the center and put text above or below it.
Use shapes, color blocks or overlays to separate text from the background. This keeps the design clean and easy to scan.
Step 5: Add Brand Colors and Details
Use your brand colors, logo and font style. Keep the logo small unless brand recognition is the main goal.
If the graphic is for a discount or limited-time offer, make the offer obvious with a badge, sticker or bold text block.
Step 6: Export Multiple Versions
Once the first version looks good, export it as JPG or PNG. Then duplicate the design and create extra versions for different platforms.
- Square version for Instagram
- Wide version for a website banner
- Vertical version for Pinterest
- Story version for mobile promotion
Common Product Promo Mistakes
- Making the product too small
- Using too many discount badges
- Adding too much text
- Using colors that clash with the product
- Forgetting the call to action
Related Design Guides
Once you have created your product promo graphic, you can use the same skills to make other graphics:
Conclusion
You do not need Photoshop or advanced design experience to create a clean product promo graphic. Start with the right canvas size, choose one clear message, use readable text, keep the layout simple and export your final design as a JPG or PNG.
Templates, stock photos, uploads, layers, effects and AI backgrounds can all speed up the process. The more you reuse a consistent style, the faster your graphics will look polished and recognizable.
Ready to design your own? open the Canvix editor, choose your canvas size and start creating online.
