
Use this as a placeholder preview until you add your final image.
Introduction
A good design does not always need complicated software. If you know the right size, use a clear layout and keep your text readable, you can create polished graphics directly in your browser.
In this beginner-friendly guide, you’ll learn how to create a photo with text online, what size to use, what elements to include, and how to export a clean image when you are done. You can follow the steps in any modern editor, or open the Canvix editor and start designing right away.
Why Add Text to a Photo?
Text can turn a normal photo into a social post, thumbnail, ad, banner, quote image or announcement. The key is making the text readable while keeping the photo looking good.
Step 1: Upload Your Photo
Open your online editor and upload the photo you want to edit. You can also add an image from a URL, use a stock photo or start from a blank canvas.
If the photo is too dark, too bright or too busy, adjust it before adding text. A small contrast or brightness change can make a big difference.
Step 2: Choose the Right Canvas Size
The right size depends on where you will use the image:
- Instagram post: 1080 x 1080 or 1080 x 1350
- TikTok cover: 1080 x 1920
- Pinterest pin: 1000 x 1500
- YouTube thumbnail: 1280 x 720
- Website banner: wide sizes such as 1200 x 400 or 1600 x 500
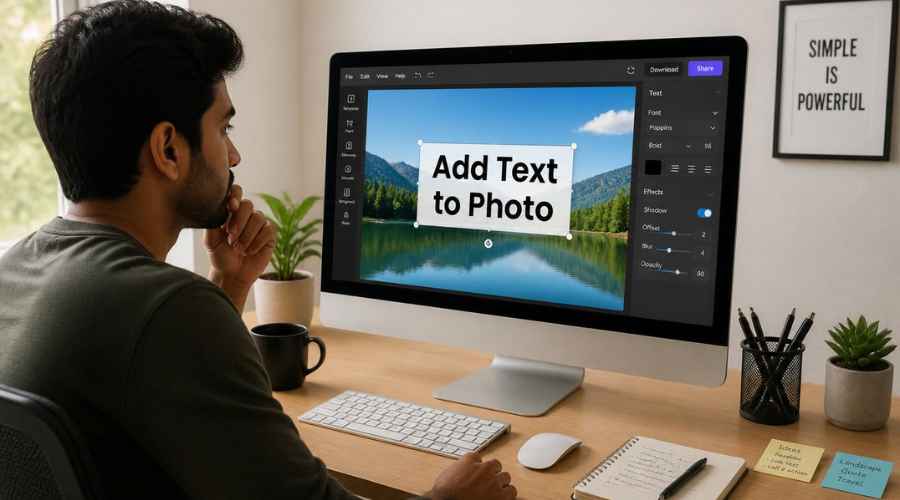
Step 3: Add Your Text
Click the text tool and type your message. Start with a short headline. You can always add a smaller subtitle later.
- Use a large font size
- Use bold text for important words
- Keep the message short
- Avoid covering faces, products or important details
Step 4: Improve Readability
Text often disappears on busy photos. Use one of these methods to make it readable:
- Add a dark or light overlay behind the text
- Add a shadow or glow effect
- Place the text on an empty part of the photo
- Use a solid rectangle or shape behind the text
- Blur the background slightly
Step 5: Choose Fonts That Match the Design
A font changes the mood of the image. Use bold sans-serif fonts for thumbnails, clean professional fonts for LinkedIn banners and elegant fonts for quote graphics.
Try not to use more than two fonts in one design. Too many fonts can make the image look messy.
Step 6: Add Supporting Elements
Shapes, arrows, borders, icons and highlights can help guide attention. For example, a sale image might need a discount badge, while a tutorial thumbnail might need an arrow pointing to the result.
Step 7: Export the Final Image
Export your image as JPG or PNG. If the design has sharp text, logos or transparent elements, PNG can keep edges cleaner. For normal photos, JPG is usually enough.
Examples of Photos with Text
Common Text-on-Photo Mistakes
- Using text that is too small
- Putting text over a busy background
- Using poor contrast
- Adding too many words
- Using fonts that do not match the design
Related Design Guides
Once you have created your photo with text, you can use the same skills to make other graphics:
Conclusion
You do not need Photoshop or advanced design experience to create a clean photo with text. Start with the right canvas size, choose one clear message, use readable text, keep the layout simple and export your final design as a JPG or PNG.
Templates, stock photos, uploads, layers, effects and AI backgrounds can all speed up the process. The more you reuse a consistent style, the faster your graphics will look polished and recognizable.
Ready to design your own? open the Canvix editor, choose your canvas size and start creating online.
